Creative Life Scrapbooking Summer Blog Hop
Welcome to the Summer CLS blog hop! I hope you are enjoying the projects and ideas the team is sharing! I will be sharing ideas on how to adapt a scrapbook sketch to accommodate more photos and at the end of the article, you will see the links to the next blog in the hop!
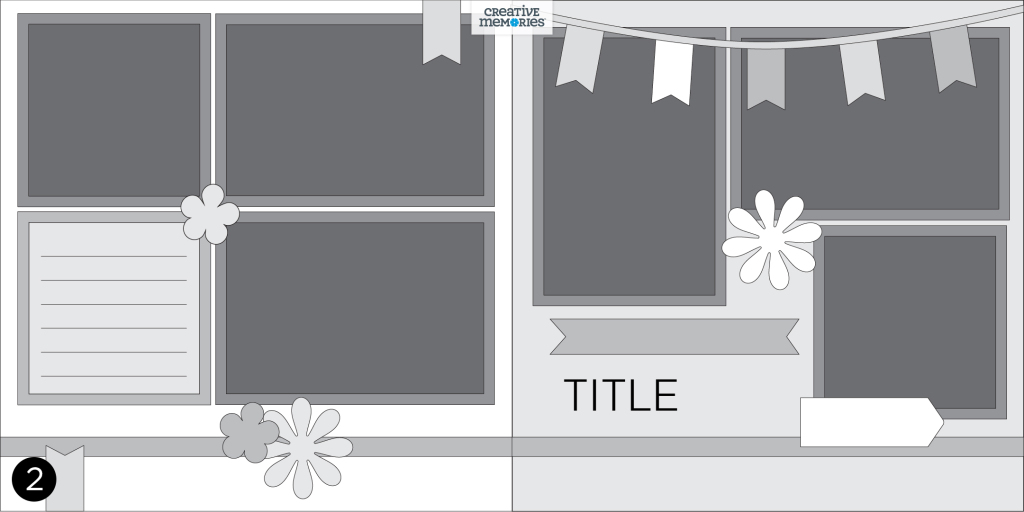
Learn ways to add more photos to a scrapbook page sketch
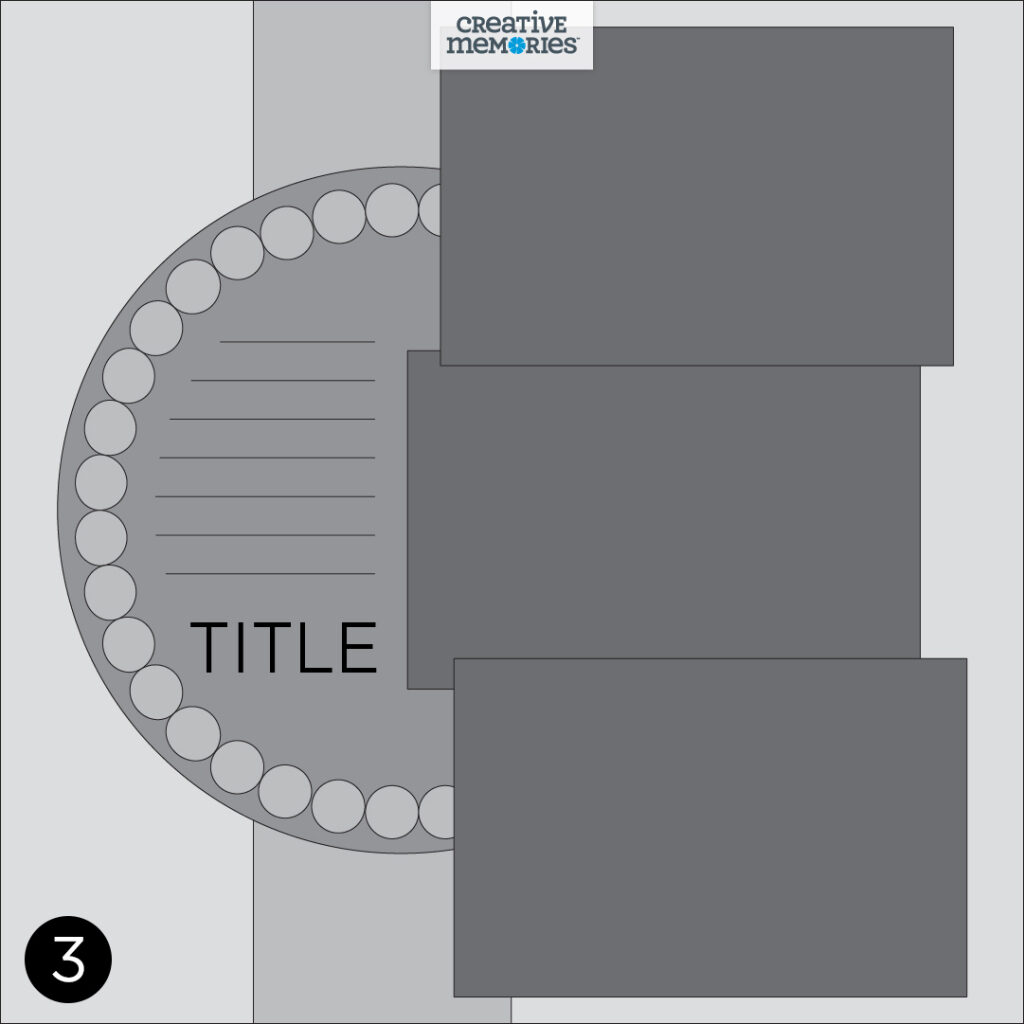
I love the creative adventure that is the scrapbook sketch. You are provided with a final page layout and it is up to you to determine the supplies and route you will take to get to that final design. Sometimes you don’t end up with the exact same design as the original sketch, and that is okay! It is sort of like packing for a day trip to Disneyland but ending up at Universal Studios instead.
Sketches are meant to inspire – to help kickstart ideas and get creative juices flowing. They often do not contain measurements or explicit instructions. You have creative license to interpret the sketch however you please.
The intent of today’s blog post is to share ways to adapt a layout sketch to accommodate more photos. This is a common concern I hear from scrapbookers when they are working with sketches – “I use too many photos to make this sketch work!†Hopefully the suggestions I share will help you to see page sketches in a new light and not feel restricted by the number of photos featured in the page rendering.
Divide and Conquer!
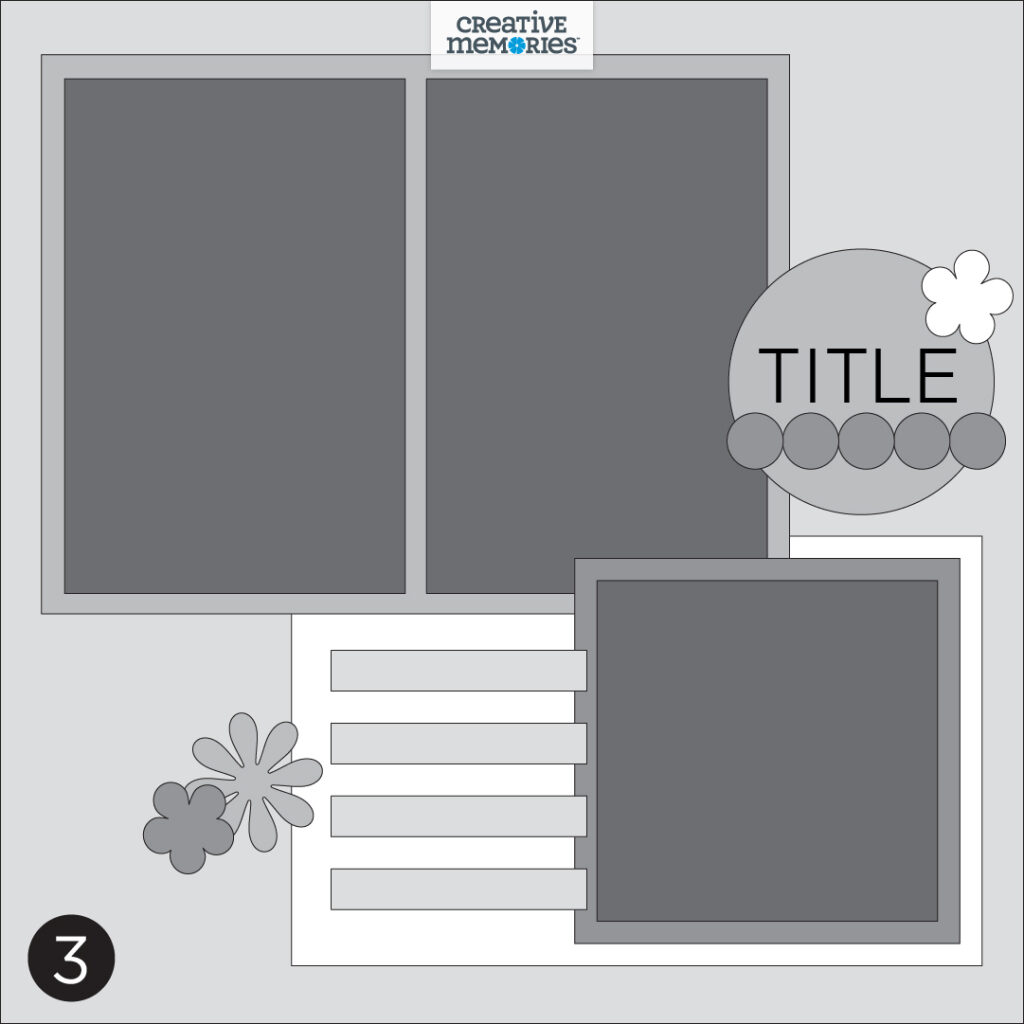
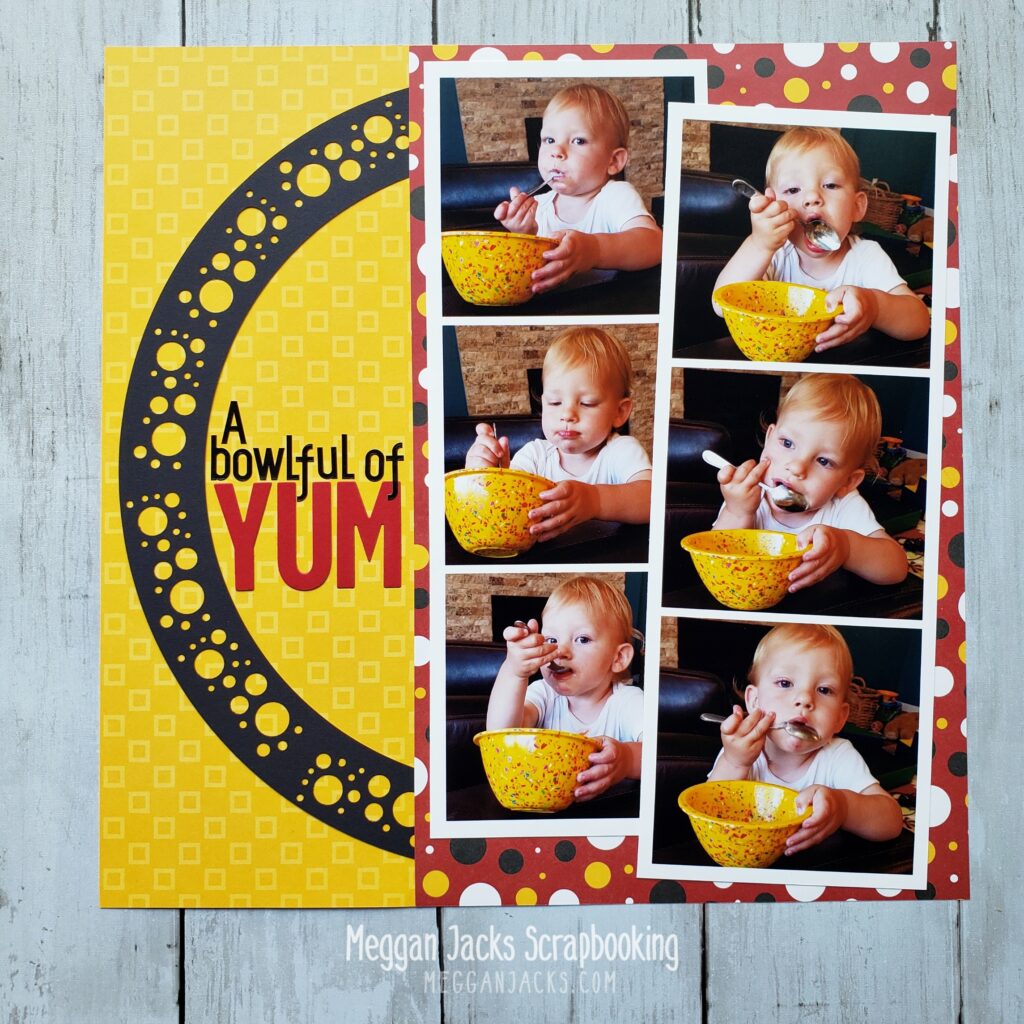
A good majority of sketches will feature at least one or two 4×6 photos in the design, and the easiest way to add more photos is to divide at least one of those 4×6 spots in half and use two 3×4 photos. You do have to anticipate how the orientation of the photos will change – one vertical 4×6 will convert into two horizontal 3x4s. This can work in your favor depending on the photos you want to work with.
Pro Tip: Use a collage app on your phone, such as the Project Life App or PicsArt to create a collage of two 3x4s on one 4×6. This saves money when printing!
Peekaboo Pockets
I have a bad habit of cropping my photos to 4×6 when printing and not leaving enough space to trim them down to a smaller size to make more fit on a page. When I find myself needing to add a few more photos to a page, Creative Memories’ Peekaboo Pockets are my best friend. They also add a fun, interactive element to the page!
Pro Tip – Peekaboo Pockets are a great place to tuck in journaling if you want to keep the overall visual focus on the photos and page art. Or if you have terrible handwriting like I do.
Reimagine Groupings
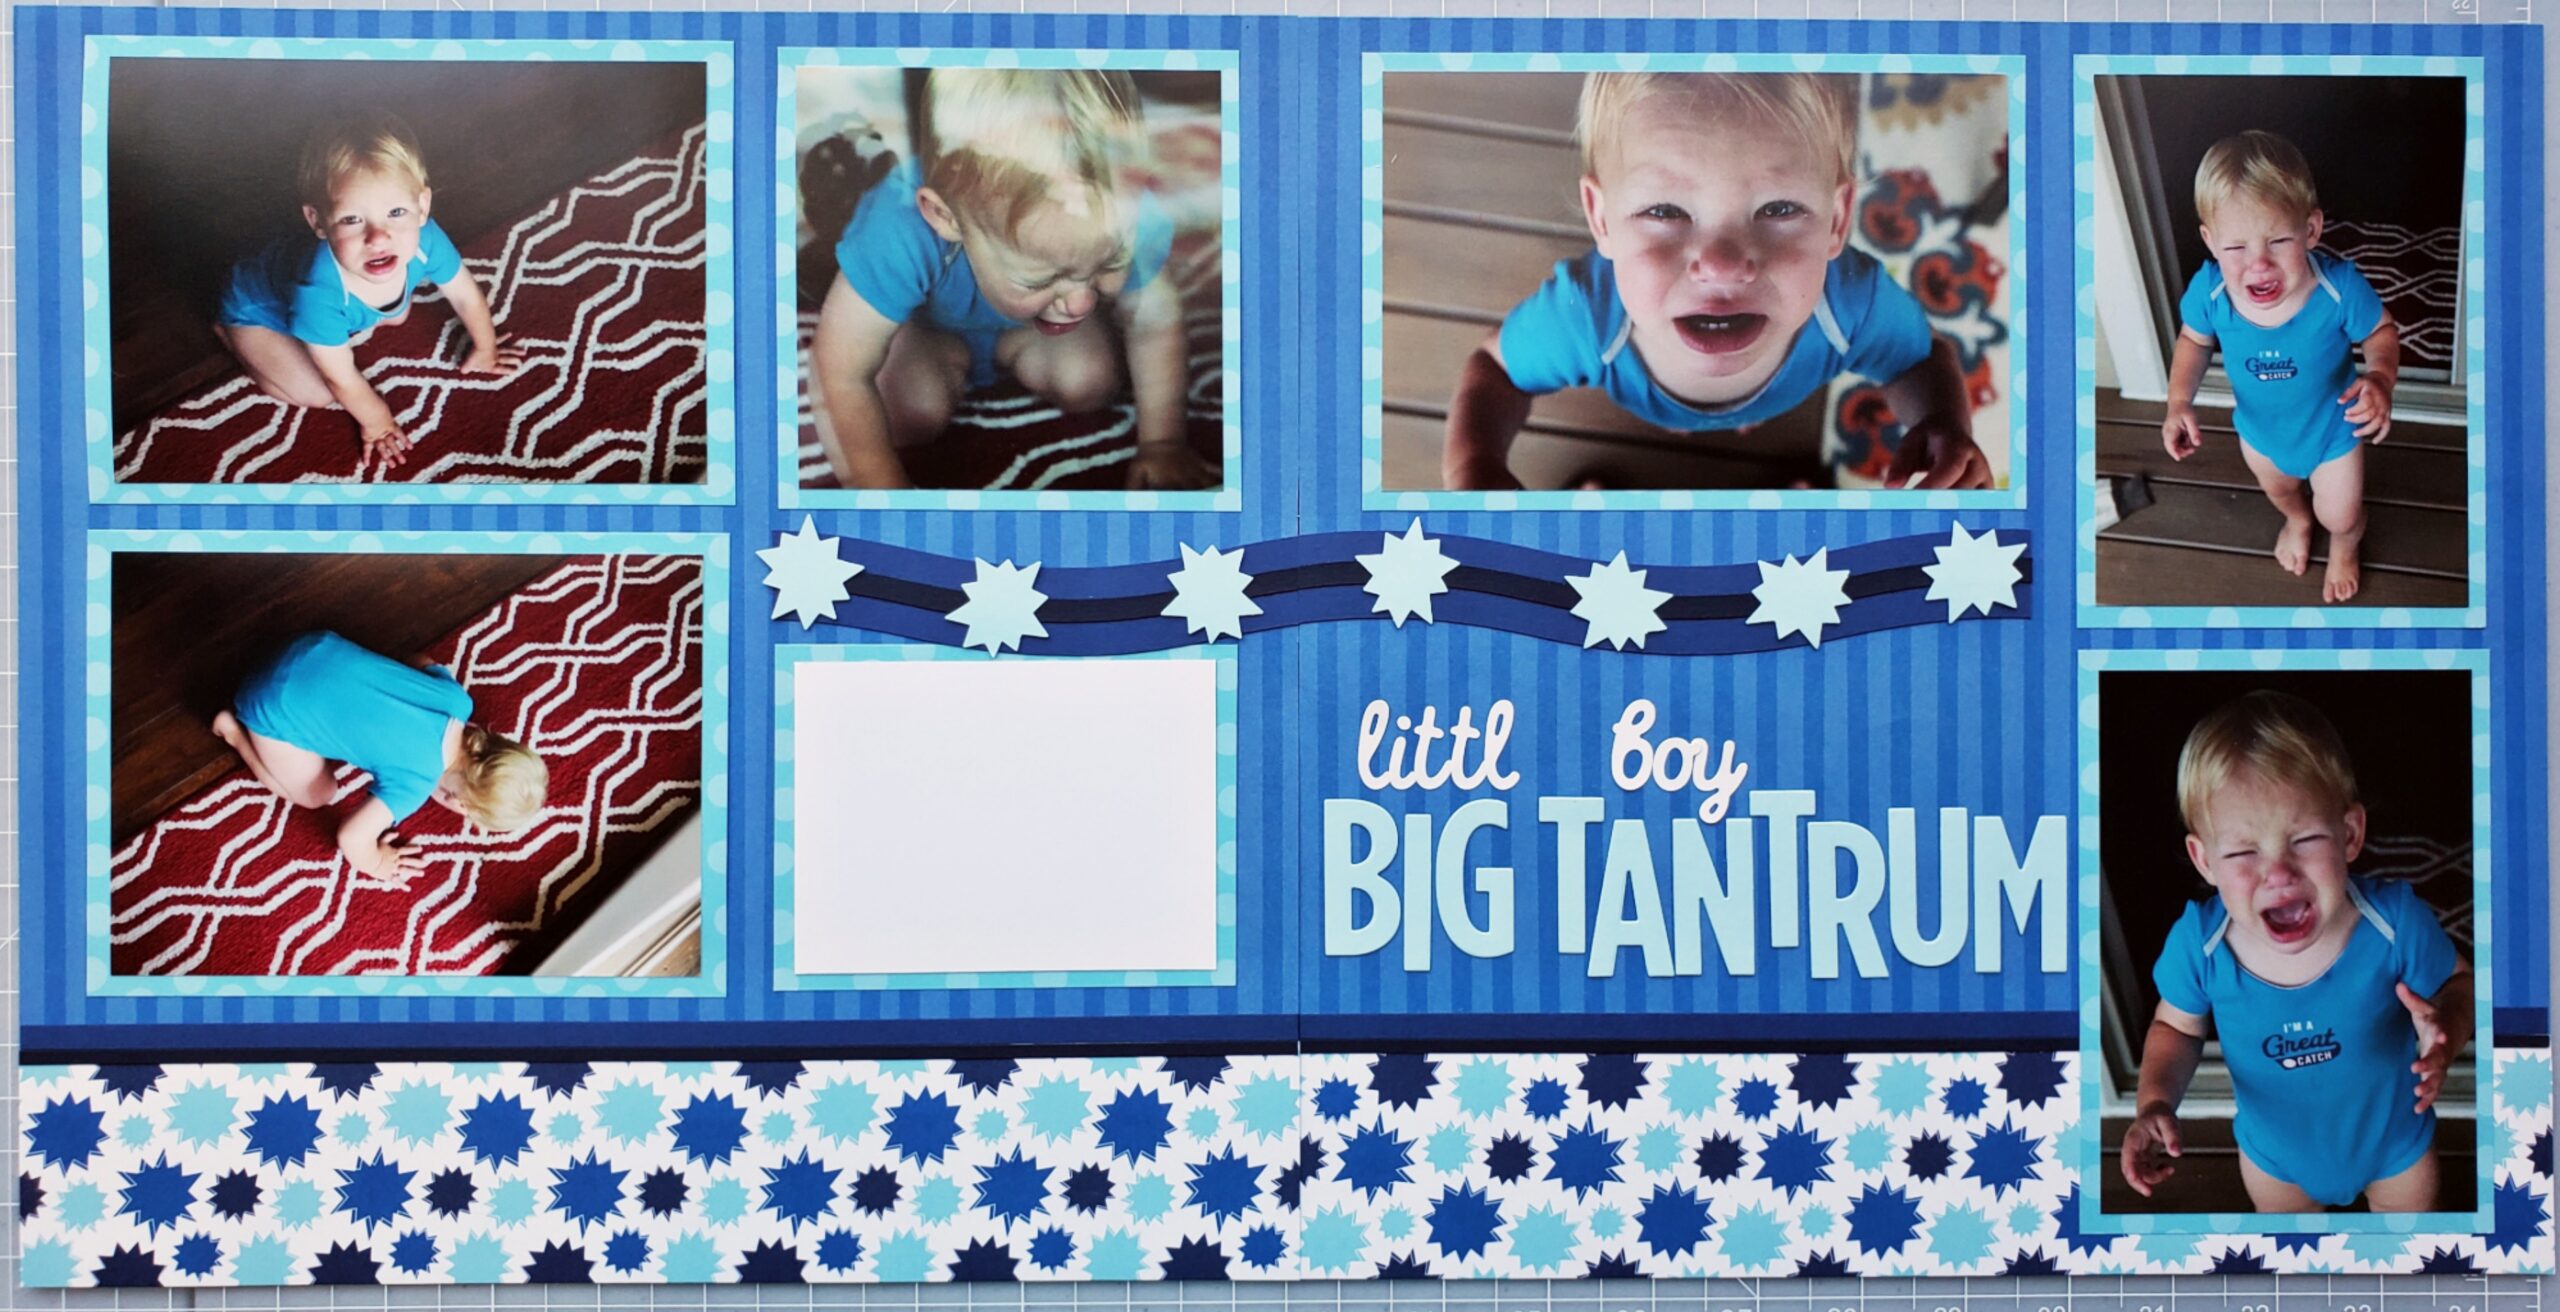
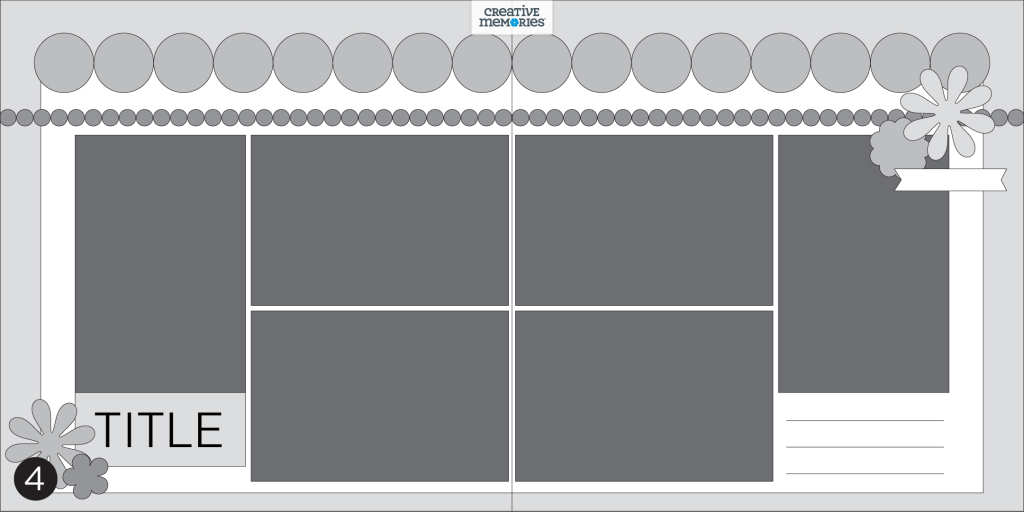
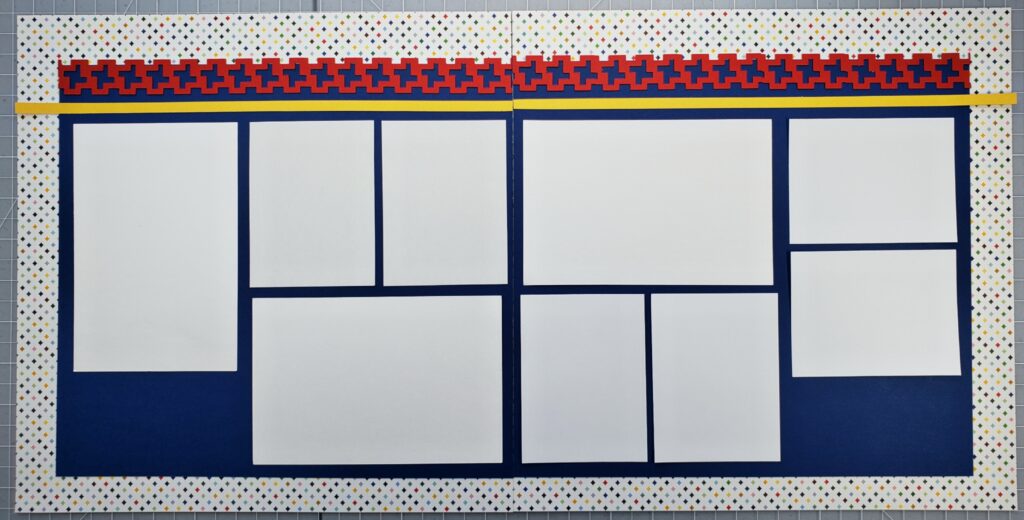
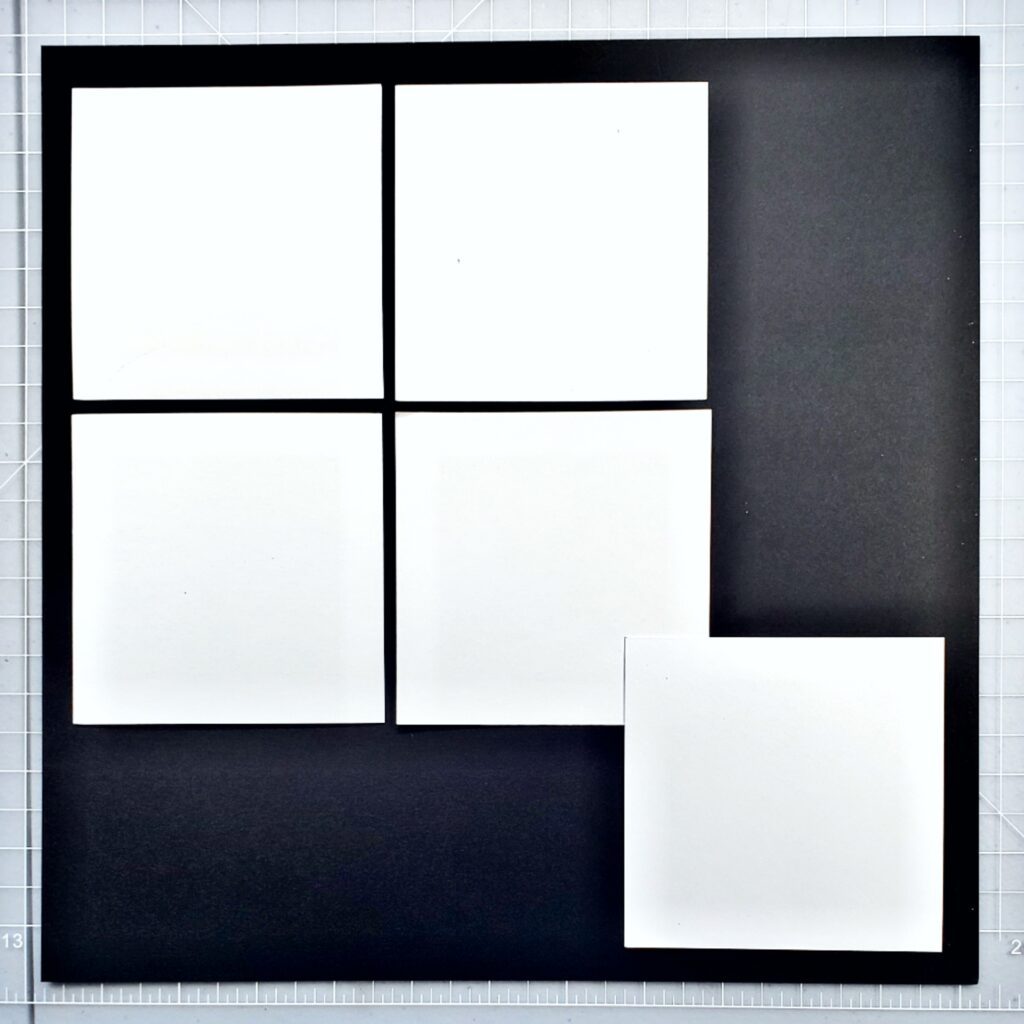
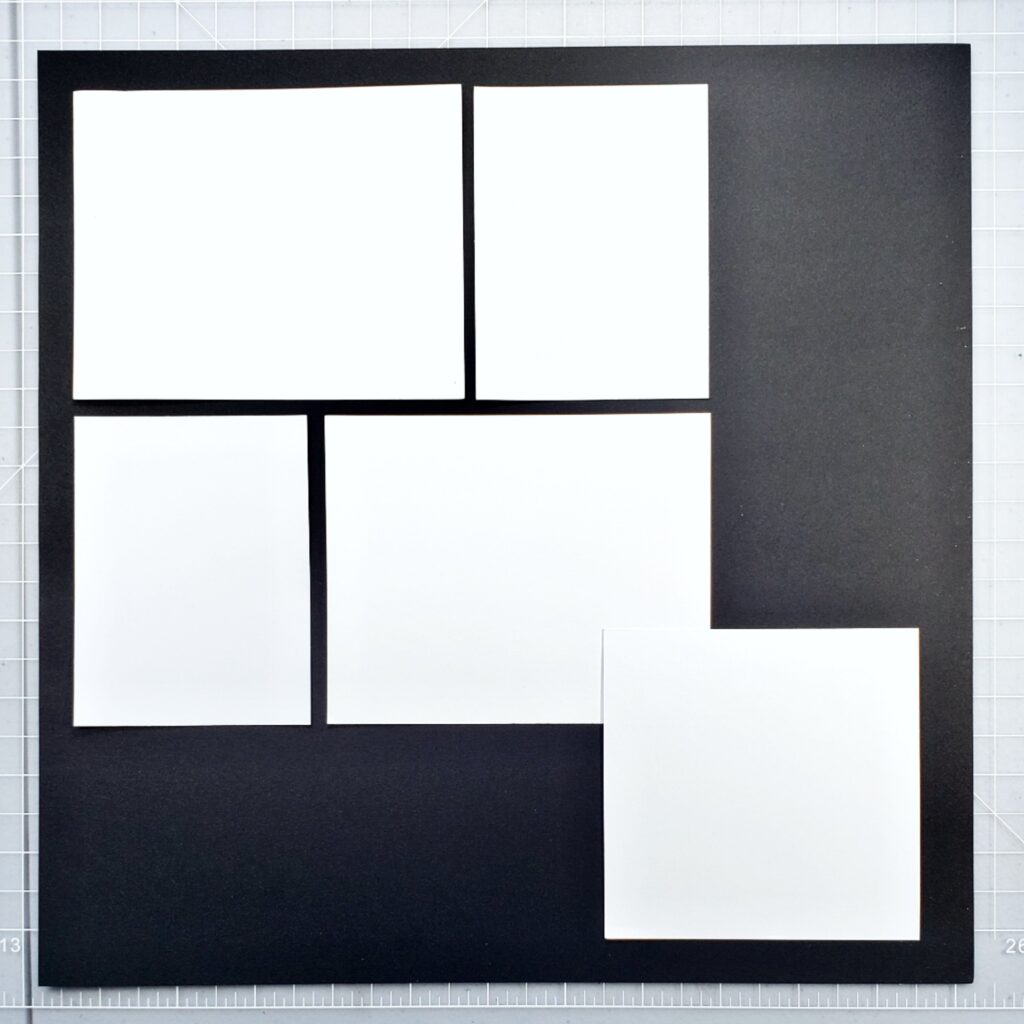
Two 4×6 photos next to each other come close to making an 8×8 square – so if you reimagine that area as a square, you can put various combinations of photos in that spot. Four, 4×4 images. Pinwheel two 4×5 with two 3x4s. Creatively clump other sizes together. Enlarge from 8×8 to whatever size you need to make your photos work.
Pro Tip: Cut up spare white cardstock or printer paper to various sized “photos” to help imagine photo placements before you trim your photos. I have paper trimmed to 4×6, 4×5, 4×4, 3×4, 3×3, 2×3 and other sizes I frequently use. This works really well when I am doing a page and printing photos “on demand” from my Epson PM 400.
Rearrange
As I mentioned before – sketches are meant to inspire. Sometimes I have photos that work perfect for a literal interpretation of the design. Other times I am rearranging the page elements shown in the sketch to allow for a better retelling of the story and adding or subtracting photos. This is the beauty of sketches! You may see a sketch where there is just one element that you love – maybe the use of a matting technique or just one side of a two page sketch strikes your fancy. Use what you love and don’t worry if the final result looks nothing like the original sketch.

Creative Life Scrapbooking Summer Blog Hop
I hope you enjoyed these ideas and samples for ways to accommodate more photos when working with sketches. If you landed here from Scrapbooking with Krista, I appreciate you stopping by! Next up in the Creative Life Scrapbooking Summer Blog Hop is Tammy McEwen’s Photos2Albums
The Organized & Creative Mom – Noreen Smith
Scrappin’ with Krista – Krista French <——-PREVIOUS
The Printed Project – Meggan Jacks <——-You are HERE
Photos2Albums – Tammy McEwen <——NEXT
Karyn Crops – Karyn McDermaid-Rolfe
D. Brinsley Blog – Diana Brinsley
Tessa Scrapbooks – Tessa Chapple
Celebrating Your Beautiful Life – Fran Smitherman (Note: you may get a redirect notice when clicking on the link to Fran’s post due to the new Blogger platform. If it pops up, it is safe to click “Ignore” to continue to the post. Thanks!)

[…] SmithKrista FrenchMeggan JacksTammy McEwenKaryn McDermaid-RolfeDiana BrinsleyTessa Shoaf Chapple <<< You are Here!Fran […]